Good morning!! Suzanne here from Scrap With Suzy with a step by step tutorial on how I made yesterday's challenge card:
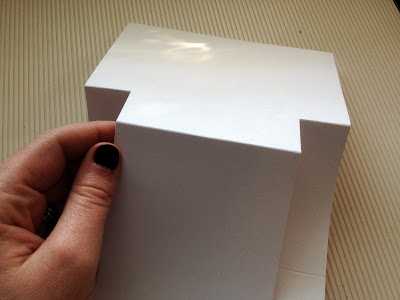
This is called the "center step fold" :) Using my Martha Stewart scoring board (what did I do before I owned this???) and paper trimmer, I made the following scores and cuts:
You will pop up your card like this and crease the fold:
Use a valley fold on the left and right sides:
I have found the best method for adding paper to these edges is to cut 2 strips and score in the same places:
Then, adhere them to either side:
Add your 3 3/4" x 4" card front to the center step:
And embellish! :) I used the "Basketful of Flowers" stamp set from Paper and Such for my main image and sentiment.
I hope you give this fun card fold a try!


This is SUPER COOL, Suzanne! Thanks so much for sharing. I hope to give it a try today!! Have a GREAT Day,
ReplyDeleteMe-Ma Kim
Absolutely gorgeous! I really need to give this a try. Thanks for sharing!
ReplyDeleteThanks for this tut! i needed to see how to make these!
ReplyDeleteI cannot believe this tutorial is 10 years old and still relevant! I am going to make this card tenfold and share it with my card making class this week. Thank you for your wonderful tutorial! I hope you don't mind if I print some of it out to share with my students.
ReplyDelete