
I have a love for paper bags! Yup, the kind you get at the grocery store or pack your kids lunch in. The come in a verity of sizes and their kraft color makes them usable for EVERYTHING!
Today I am going to show you a few things you can do with your paper bag to make them in to something fun! The bag I am making happens to be for Valentines Day - one of my little loves will get this bag filled with sweet treats.
First thing I love doing to my bags is embossing them! Use can use a verity of embossing machines, for my demo I am using my Sizzix Big Shot with the polk-a-dot embossing plate.
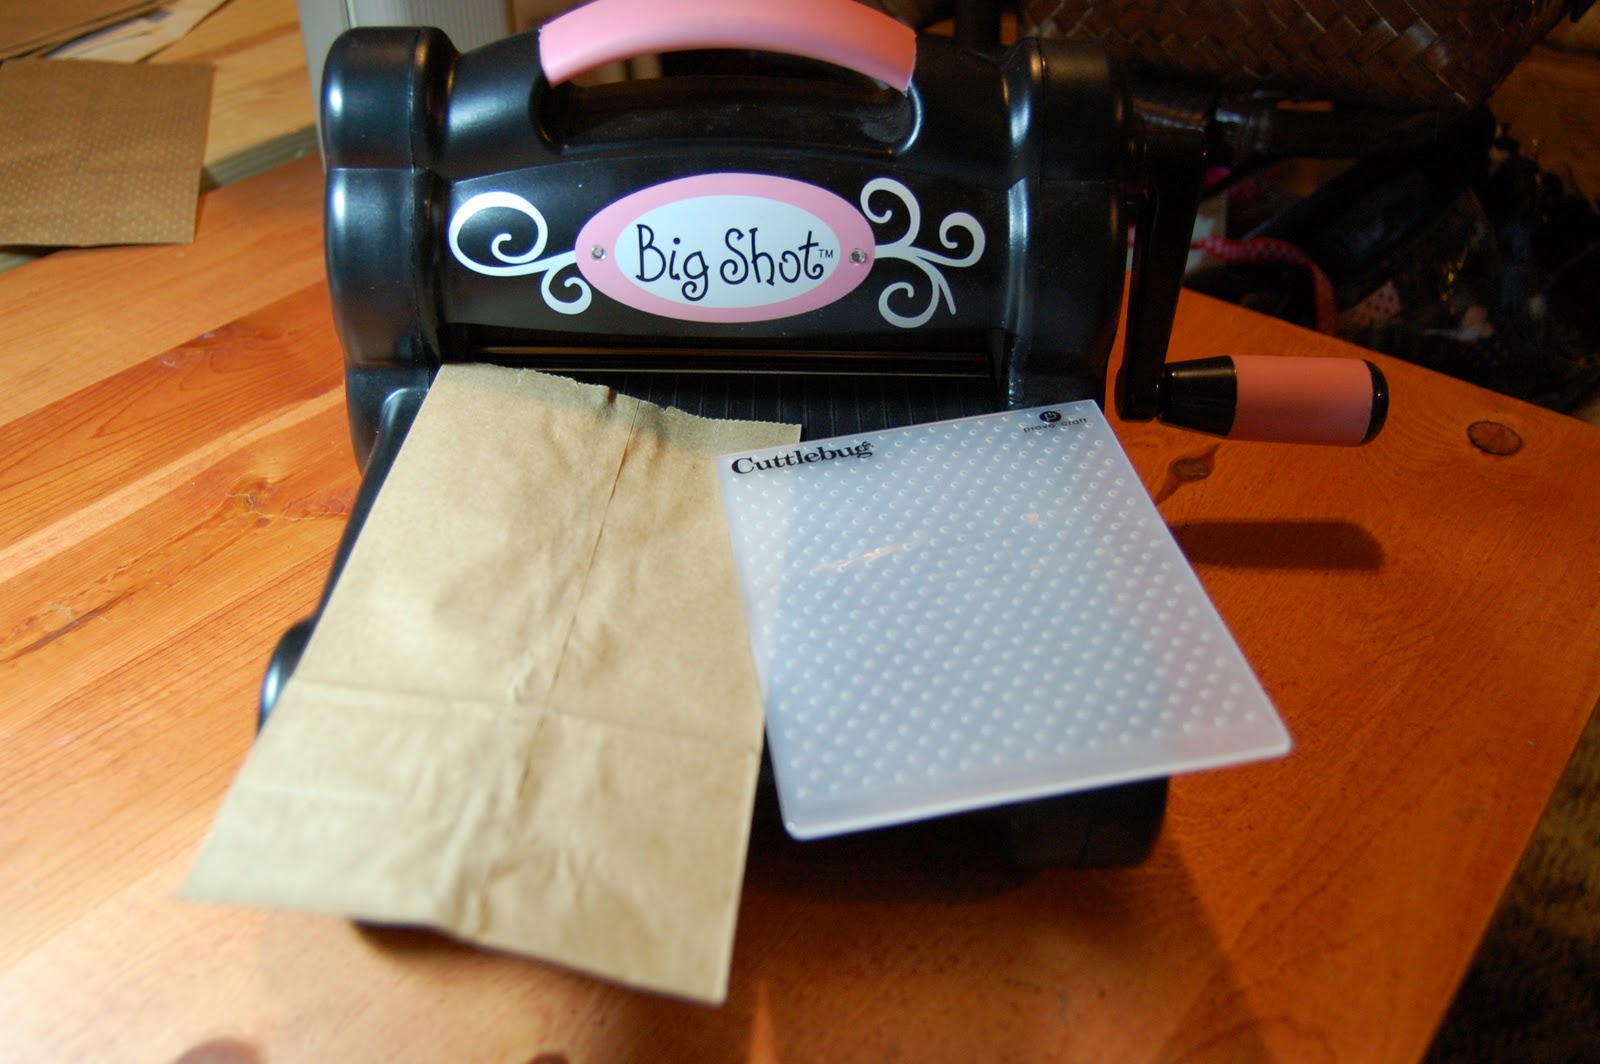
Put your bag bottom in the crease of the embossing plate. The bag is taller than the embossing plate so we want to be sure to emboss from the bottom up.

Once you have embossed the bag use you trimmer and cut off the un-embossed part of the bag.
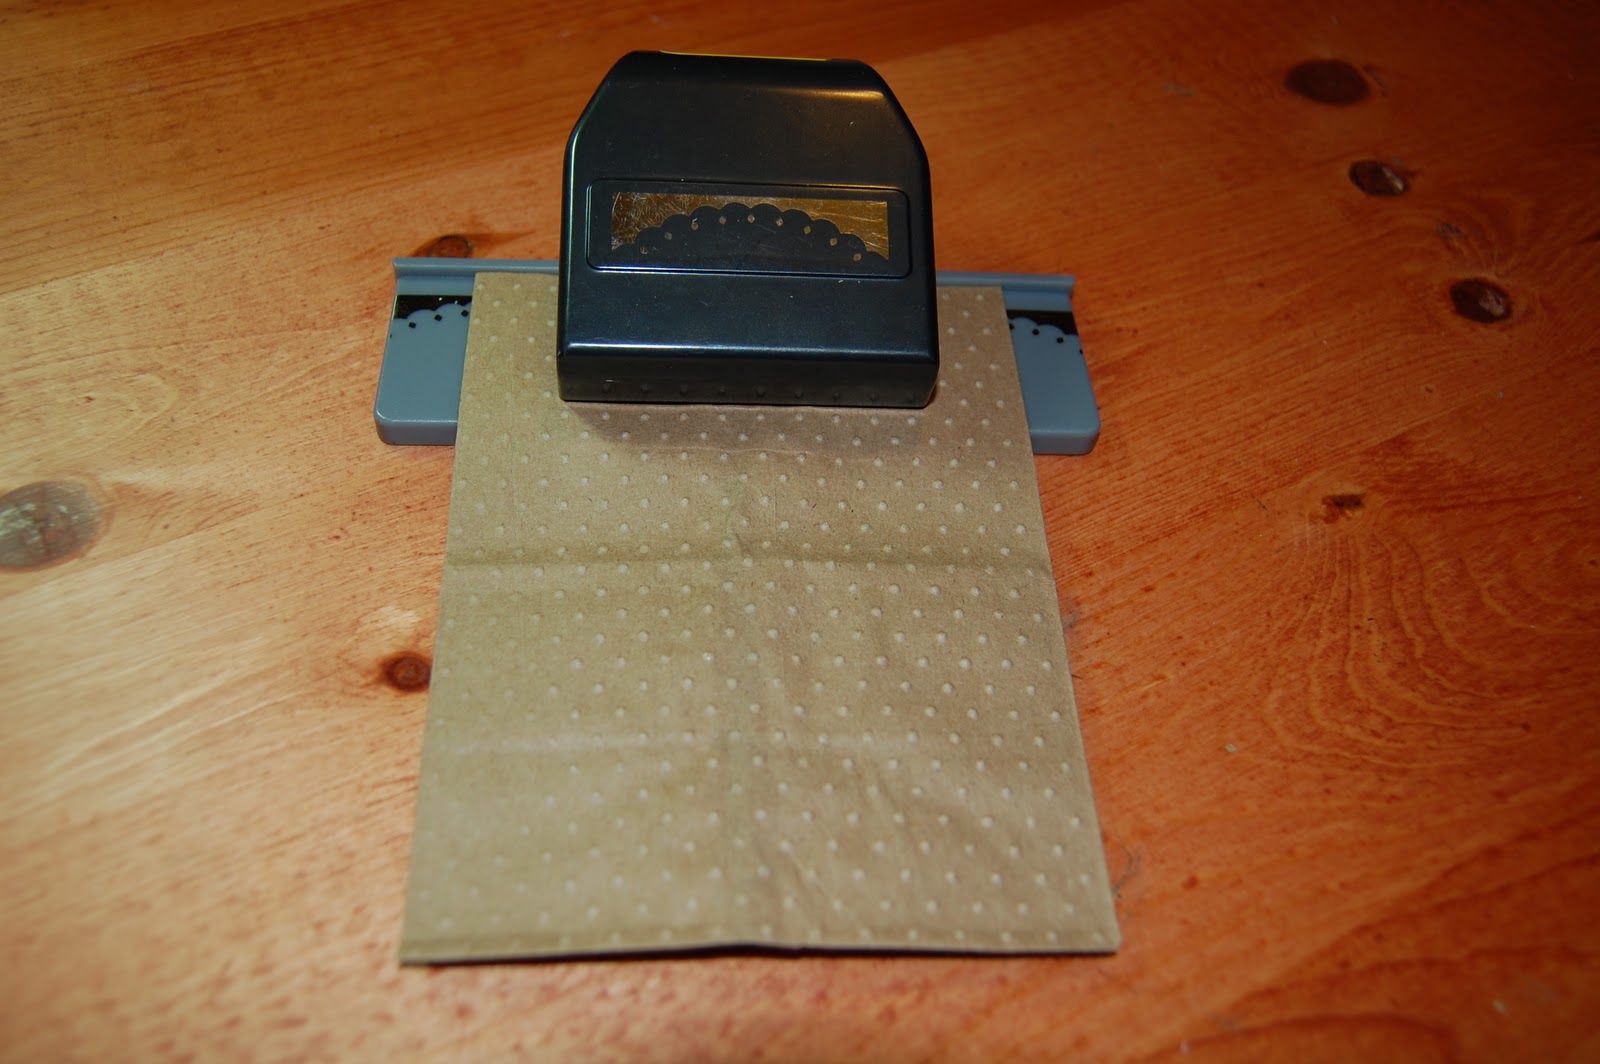
Next gather your favorite boarder punch so that we can enhance the top of our bag. NOTE - keep the top part of the bag you cut off that is not embossed- we will use this!

Start your punch in the center of the top of your bag and then work your way to each side. Be sure your bag is still closed so that you get the punch on both sides of the bag.

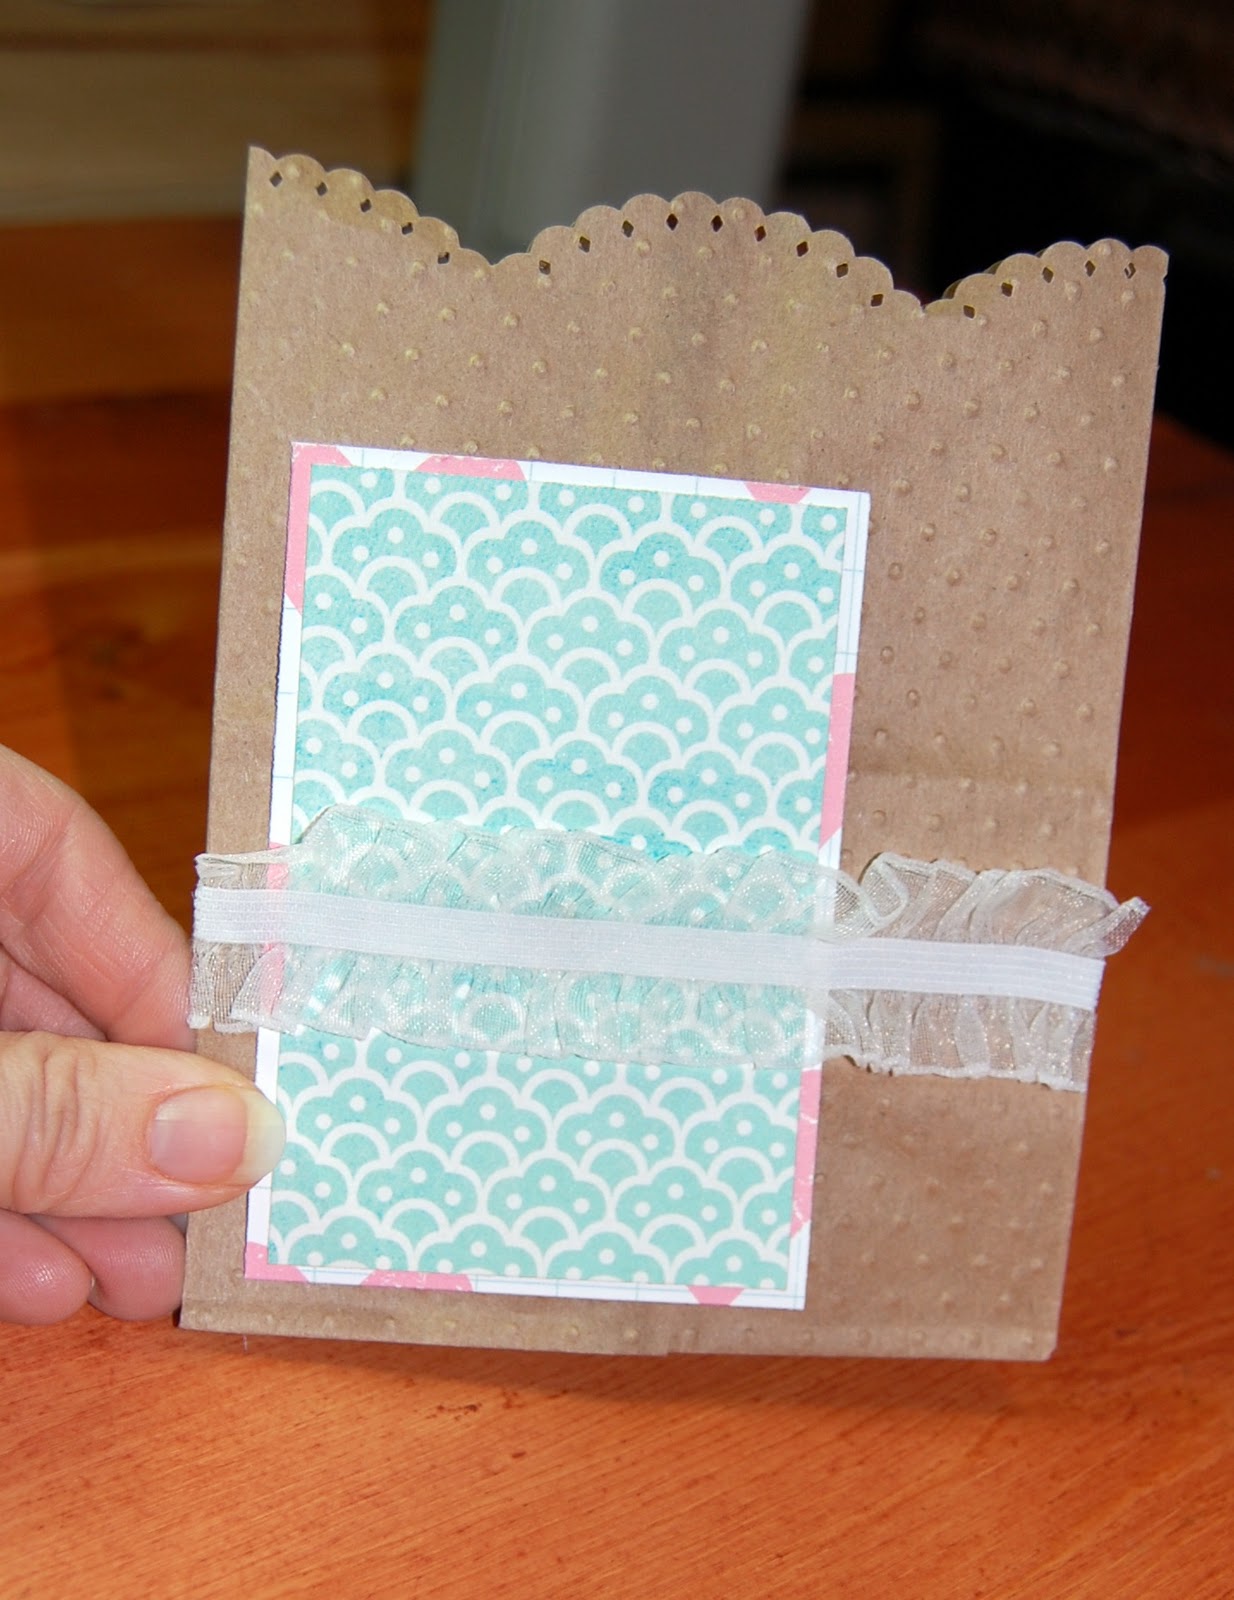
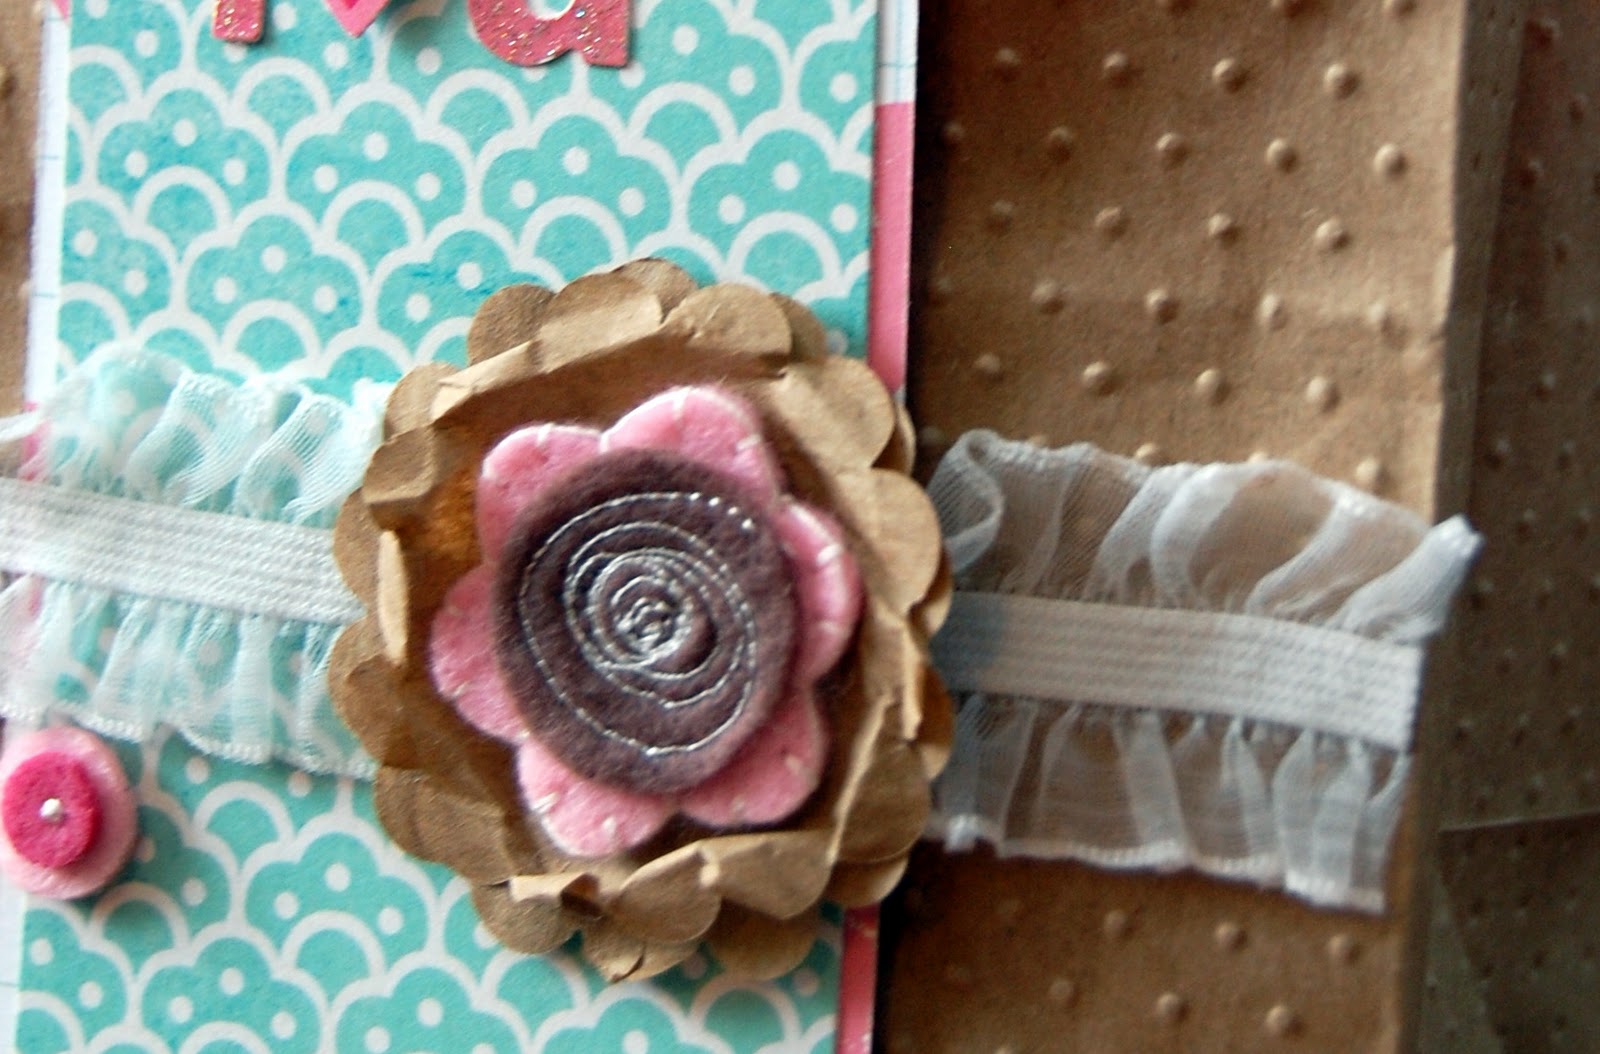
Now its time for you to put your personal touch on the bag. I added some double matted paper and some sheer ribbon to start my 'love' look.
Now its time to make use of that top part of the bag we cut off that was not embossed. Take a scallop or any circular punch and put it though the bag. Be sure the bag is closed and you will get 2 of the same shape.
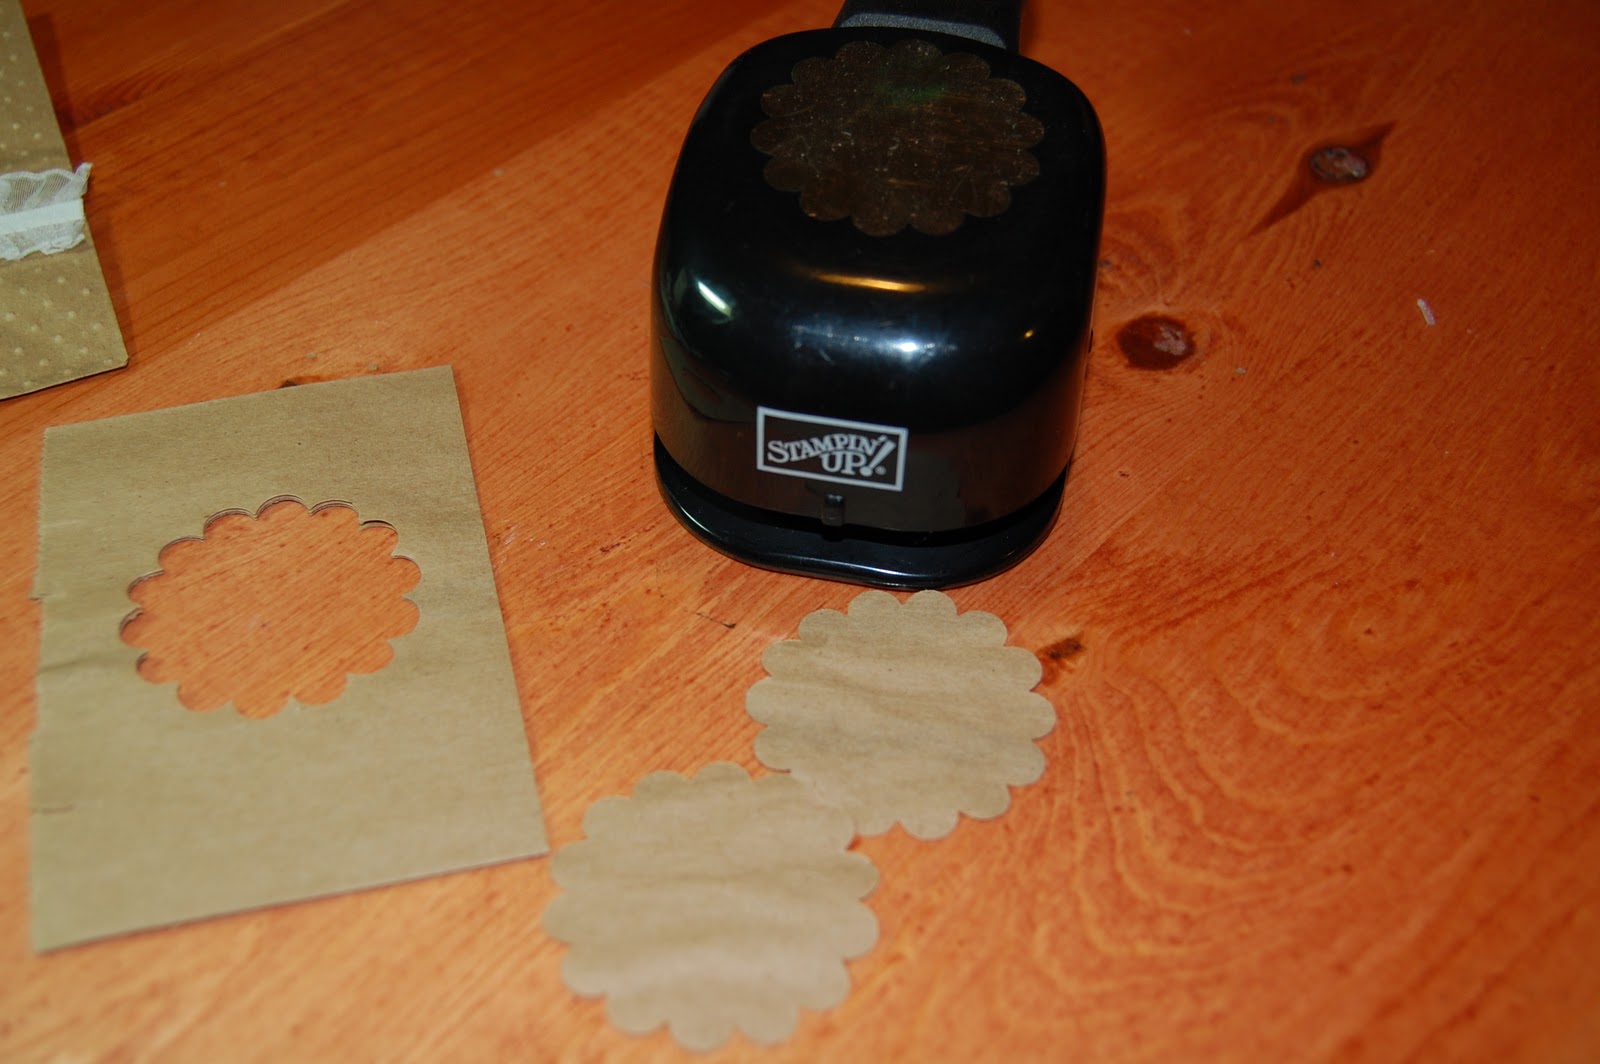
Adhere one scallop on top of the other and then put an embellishment (flower, button, brad) in the middle an then push the top layer scallop towards the center of your embellishment to give it a wrinkled look.
Lastly all you need to so is finish decorating your bag! You will never look at a paper lunch sack the same way again!


How cute and so easy. I gotta get me one a Big Shot!
ReplyDeletevery cute
ReplyDeleteThis is super sweet and looks not to hard! Thanks for the quick teaching time.
ReplyDeleteOh my goodness! Thanks for the GREAT idea.
ReplyDeleteGreat demo, thank's for showing us Sara. I love the punched edge, very nice. Thanks Debbiexx
ReplyDeleteeasy and so much fun..thamks for showing!
ReplyDeleteLove the look of this. So sweet!
ReplyDeleteToo cute. I have a big shot and only 4 folders ( I won it and have no idea how to use it with my lo's) and thats one of the folders I have !!! and I have a TON of paper bags!!! Thanks for the idea!
ReplyDeleteWauu, so cute. Thanks for sharing. Katarina XXX
ReplyDeleteI am so happy you girls like! Have fun creating!
ReplyDeleteWhat a great idea. I can't wait to make one for my friends birthday.
ReplyDeletewow this is spectacular and soooooooooooooooo creative and inspiring xoxox
ReplyDeleteI am so making this! Sara your incredible and creative!
ReplyDeleteWOW!! Fantastic! Thanks for the great tutorial!!! :)
ReplyDeleteThanks for the tutorial. This seems to be easier. I though it could really be hard.
ReplyDeleteChoose Happiness Life Coaching
What a great idea
ReplyDeletewhere can i buy scallop with circular shape?
ReplyDelete